June 06, 2015
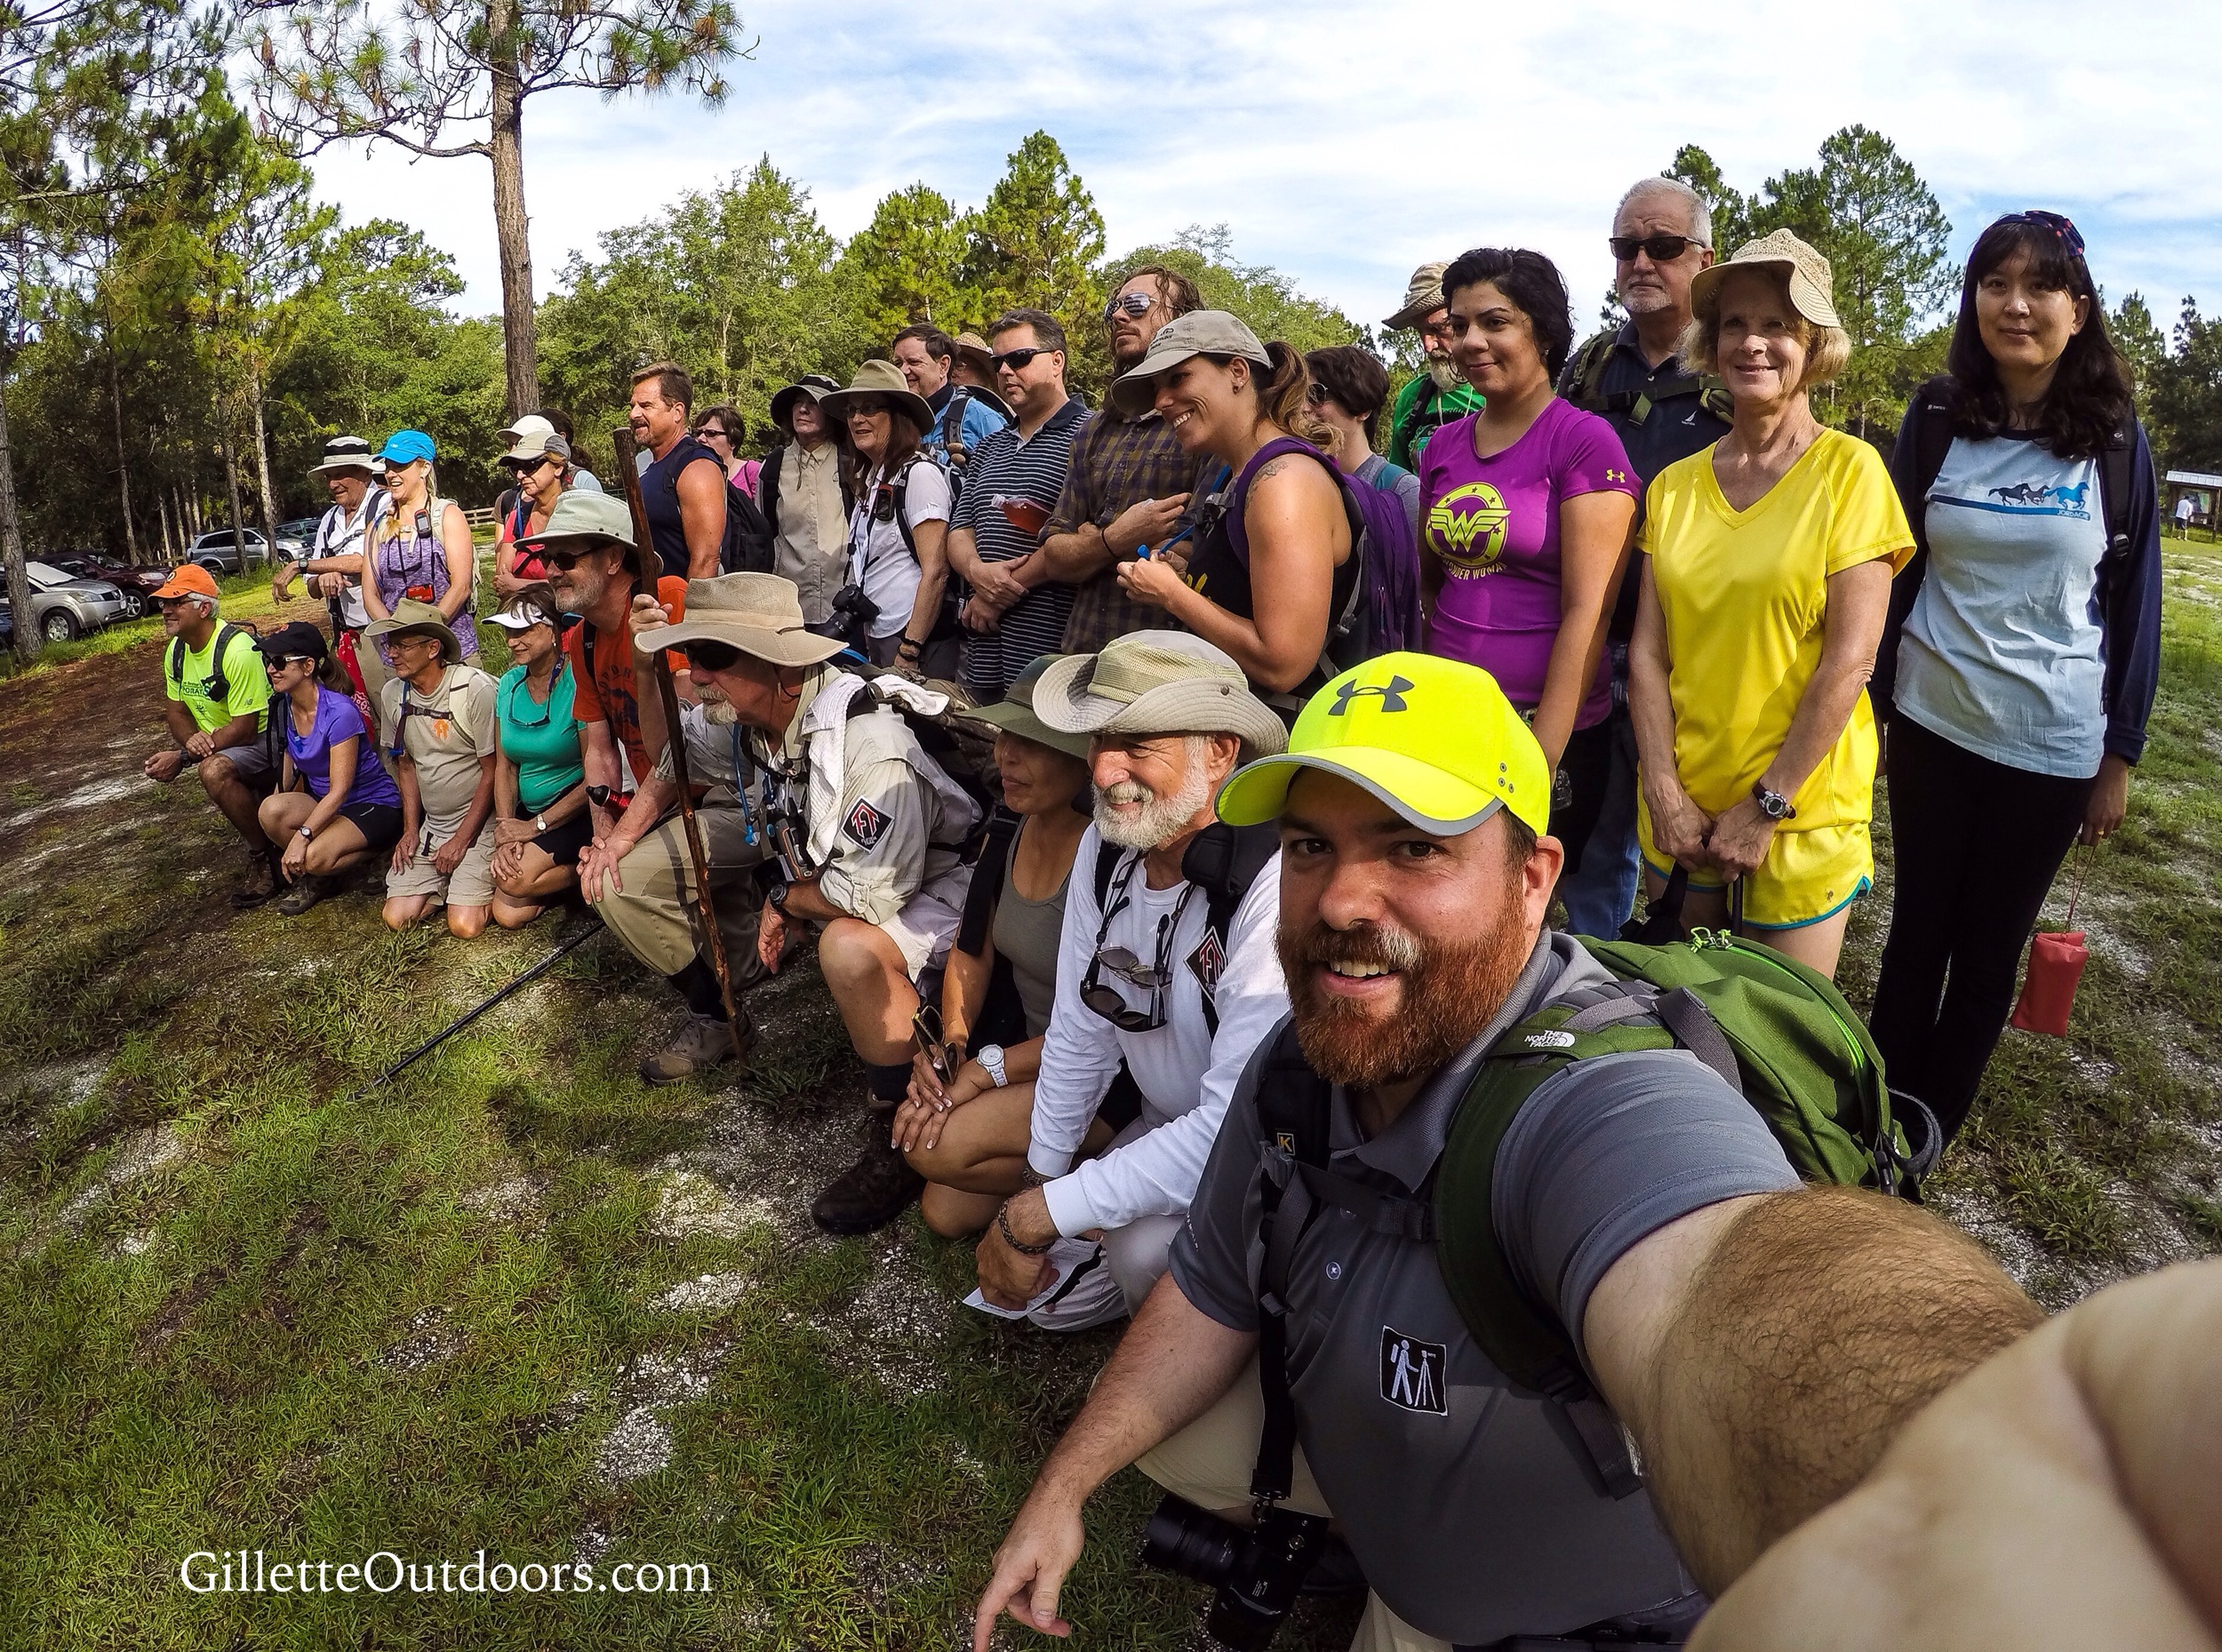
34 hikers turned out.
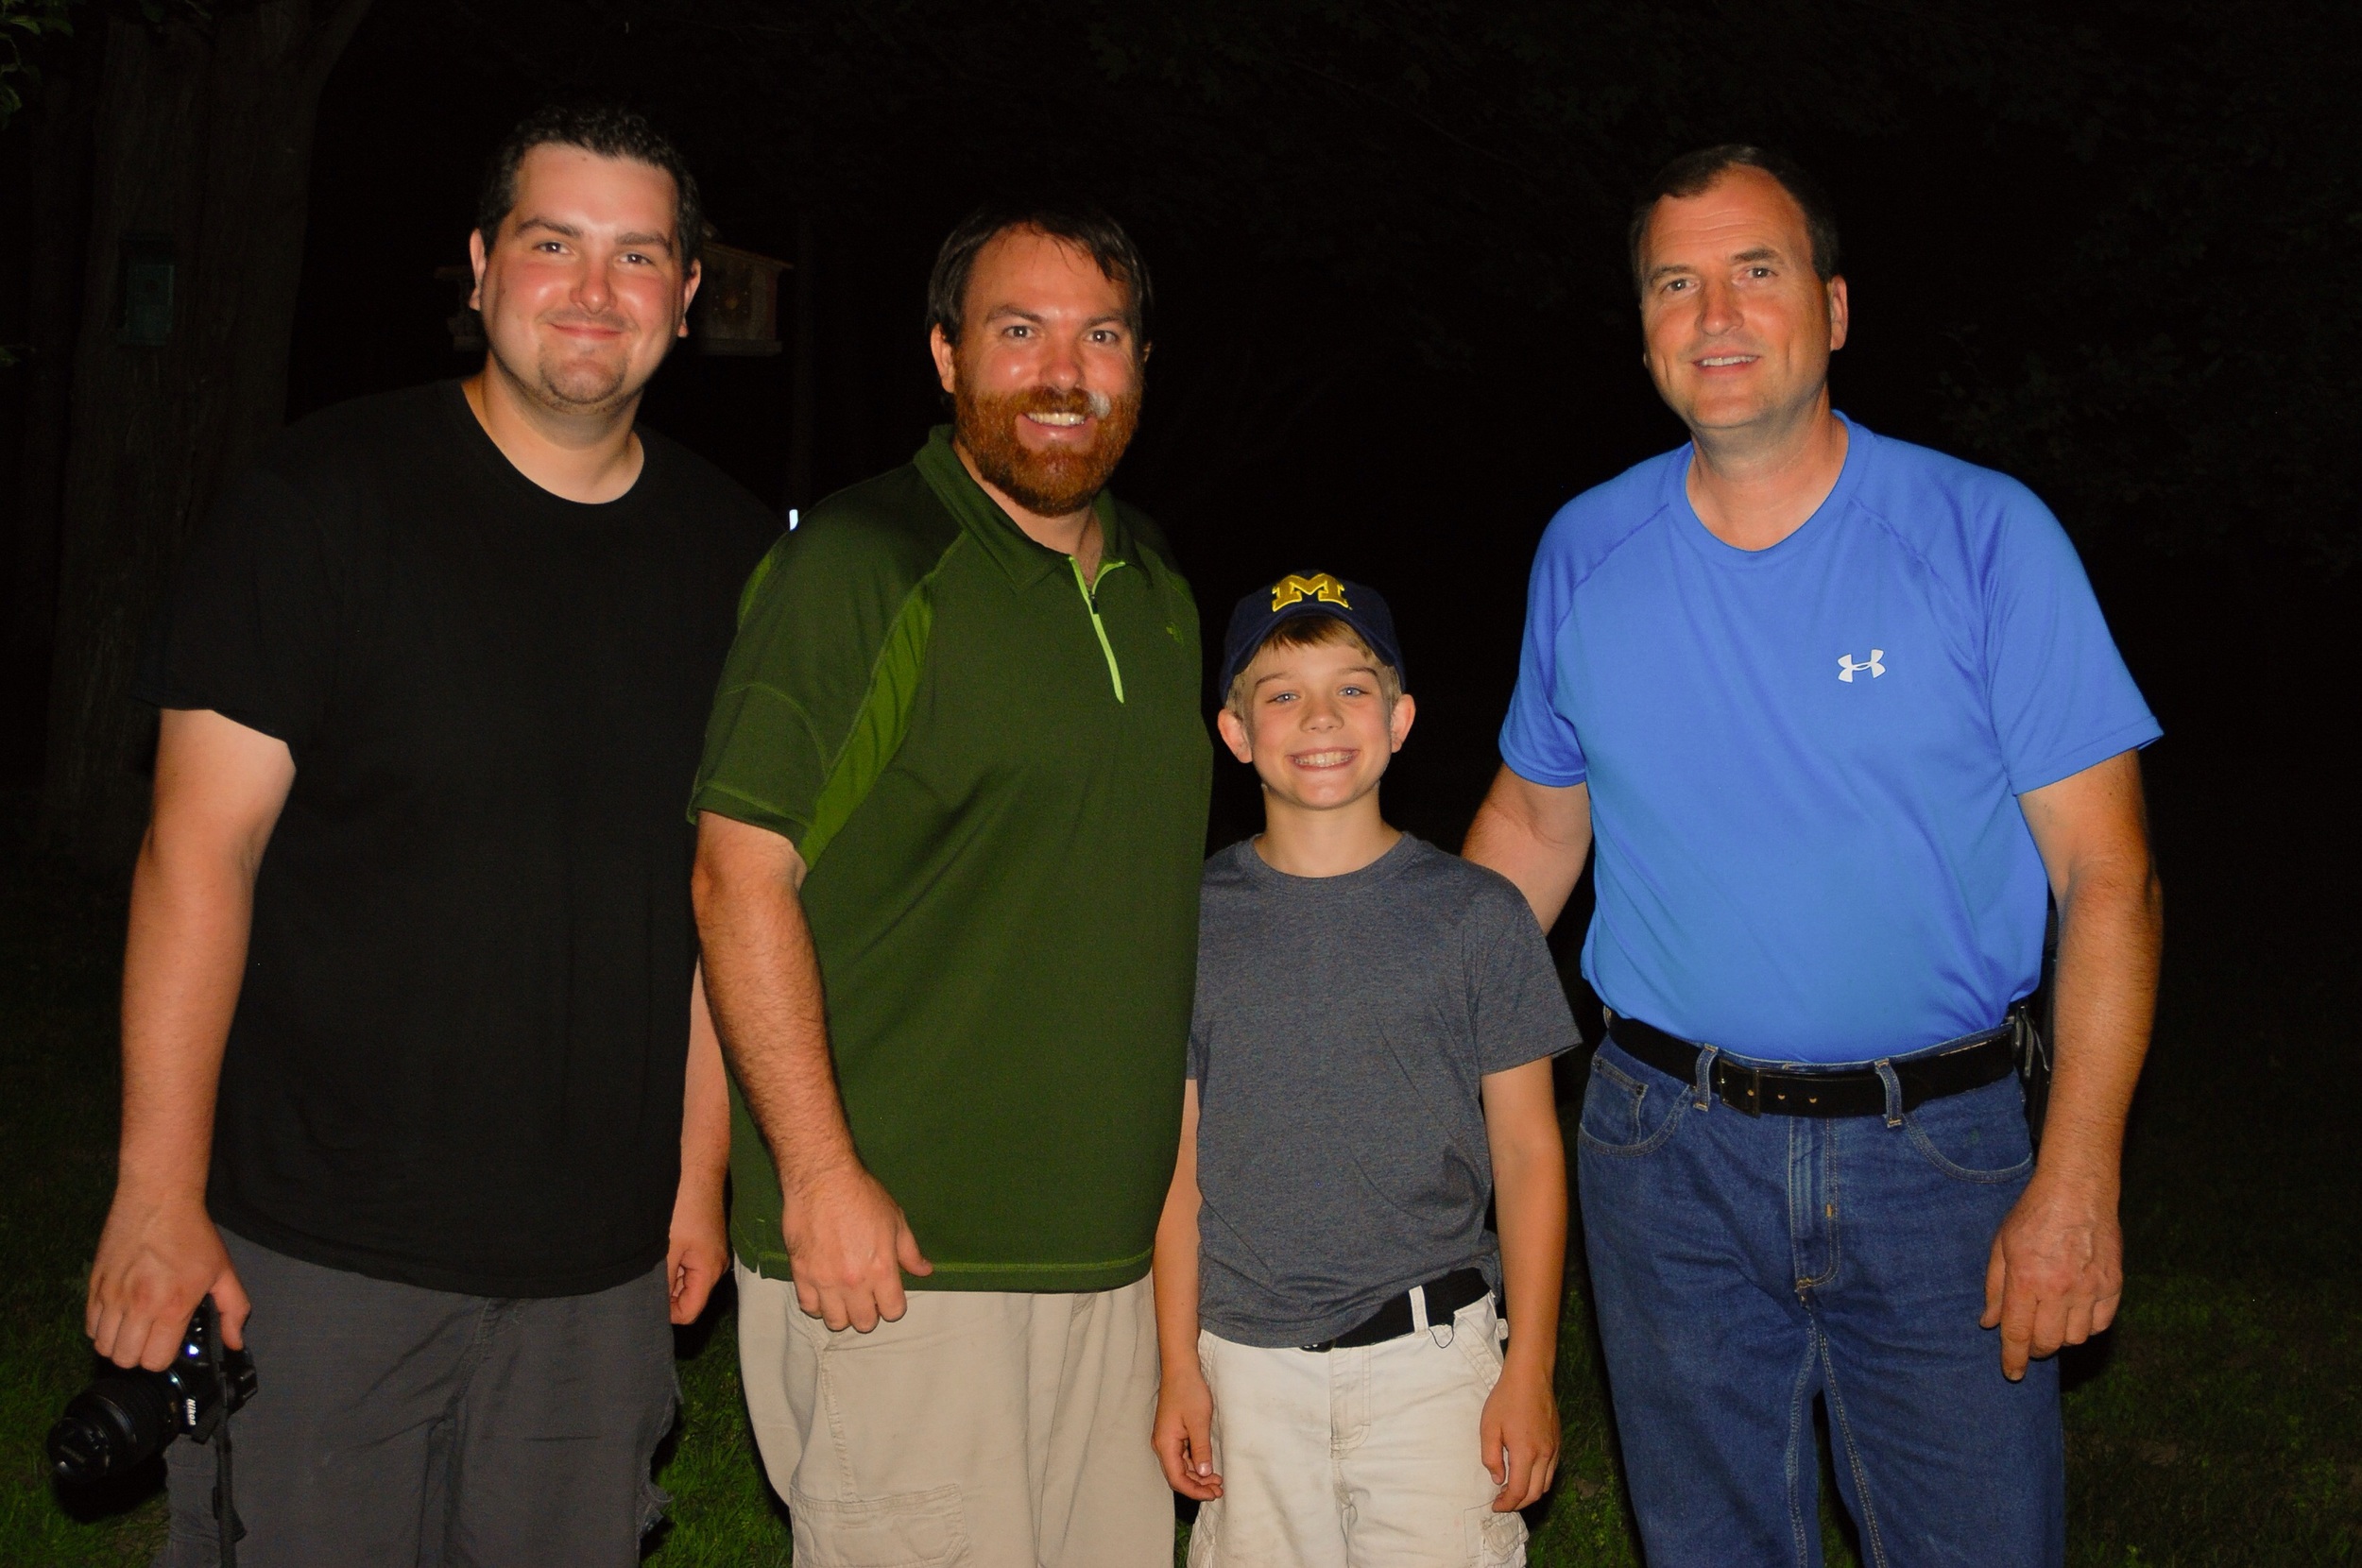
A Friend of mine and Gillette Outdoors, Jeff Sparks (find Jeff on Twitter) invited me on a hike this weekend for National Trails Day.
What is National Trails Day?
"American Hiking Society’s National Trails Day® (NTD) is a celebration of America’s magnificent Trail System, occurring annually on the first Saturday in June. NTD features a series of outdoor activities, designed to promote and celebrate the importance of trails in the United States. Individuals, clubs and organizations from around the country host National Trails Day® events to share their love of trails with friends, family, and their communities. NTD introduces thousands of Americans to a wide array of trail activities: hiking, biking, paddling, horseback riding, trail running, and bird watching and more. For public and private land managers alike, National Trails Day® is a great time to showcase beautiful landscapes and special or threatened locales as thousands of people will be outside looking to participate in NTD events.
National Trails Day® evolved during the late ‘80s and ‘90s from a popular ethos among trail advocates, outdoor industry leaders and political bodies who wanted to unlock the vast potential in America’s National Trails System, transforming it from a collection of local paths into a true network of interconnected trails and vested trail organizations. This collective mindset hatched the idea of a singular day where the greater trail community could band together behind the NTD moniker to show their pride and dedication to the National Trails System" (Nationaltrailsday.org)

Joshua Creek Trail Head, Charles Bronson State Forest.
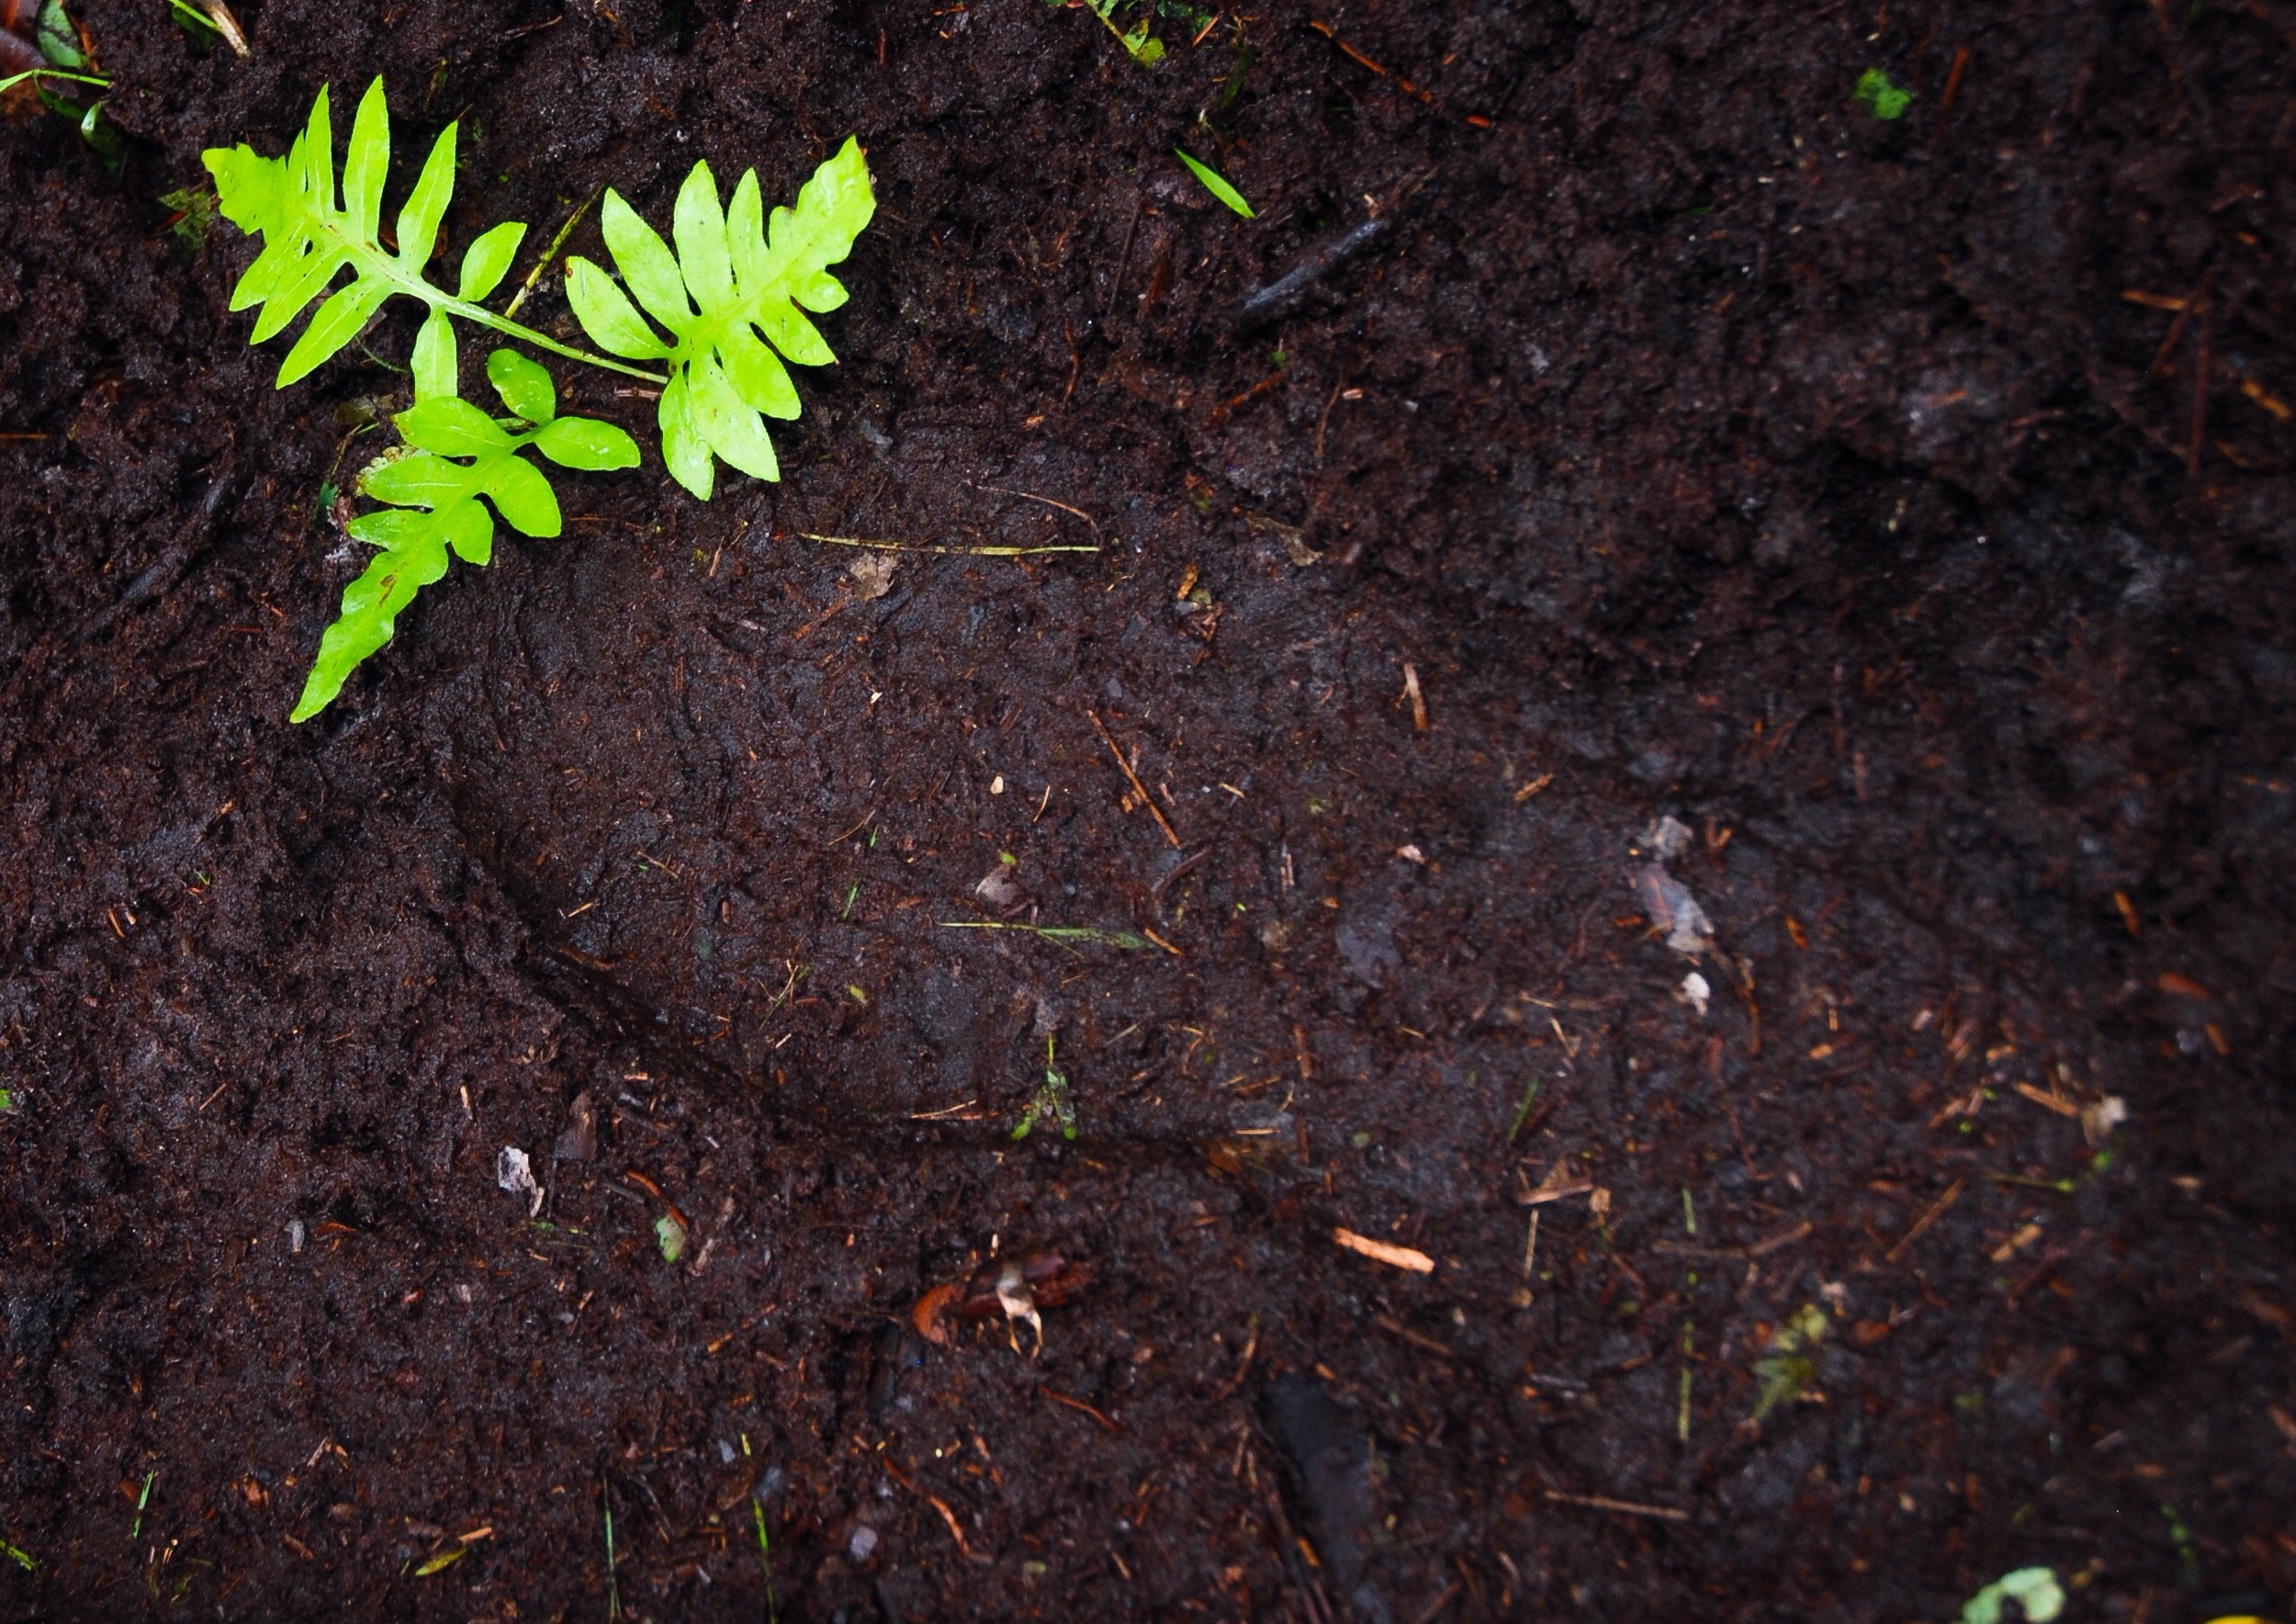
As we made our way into the forest from the Joshua Creek Trail Head we followed the Blue blazed connecter trail over to the familiar Orange Blazed Florida Trail (FT) the photo above is of a small section that was blanked in fern.

Damp and humid, this is the perfect home for ferns of all kinds.
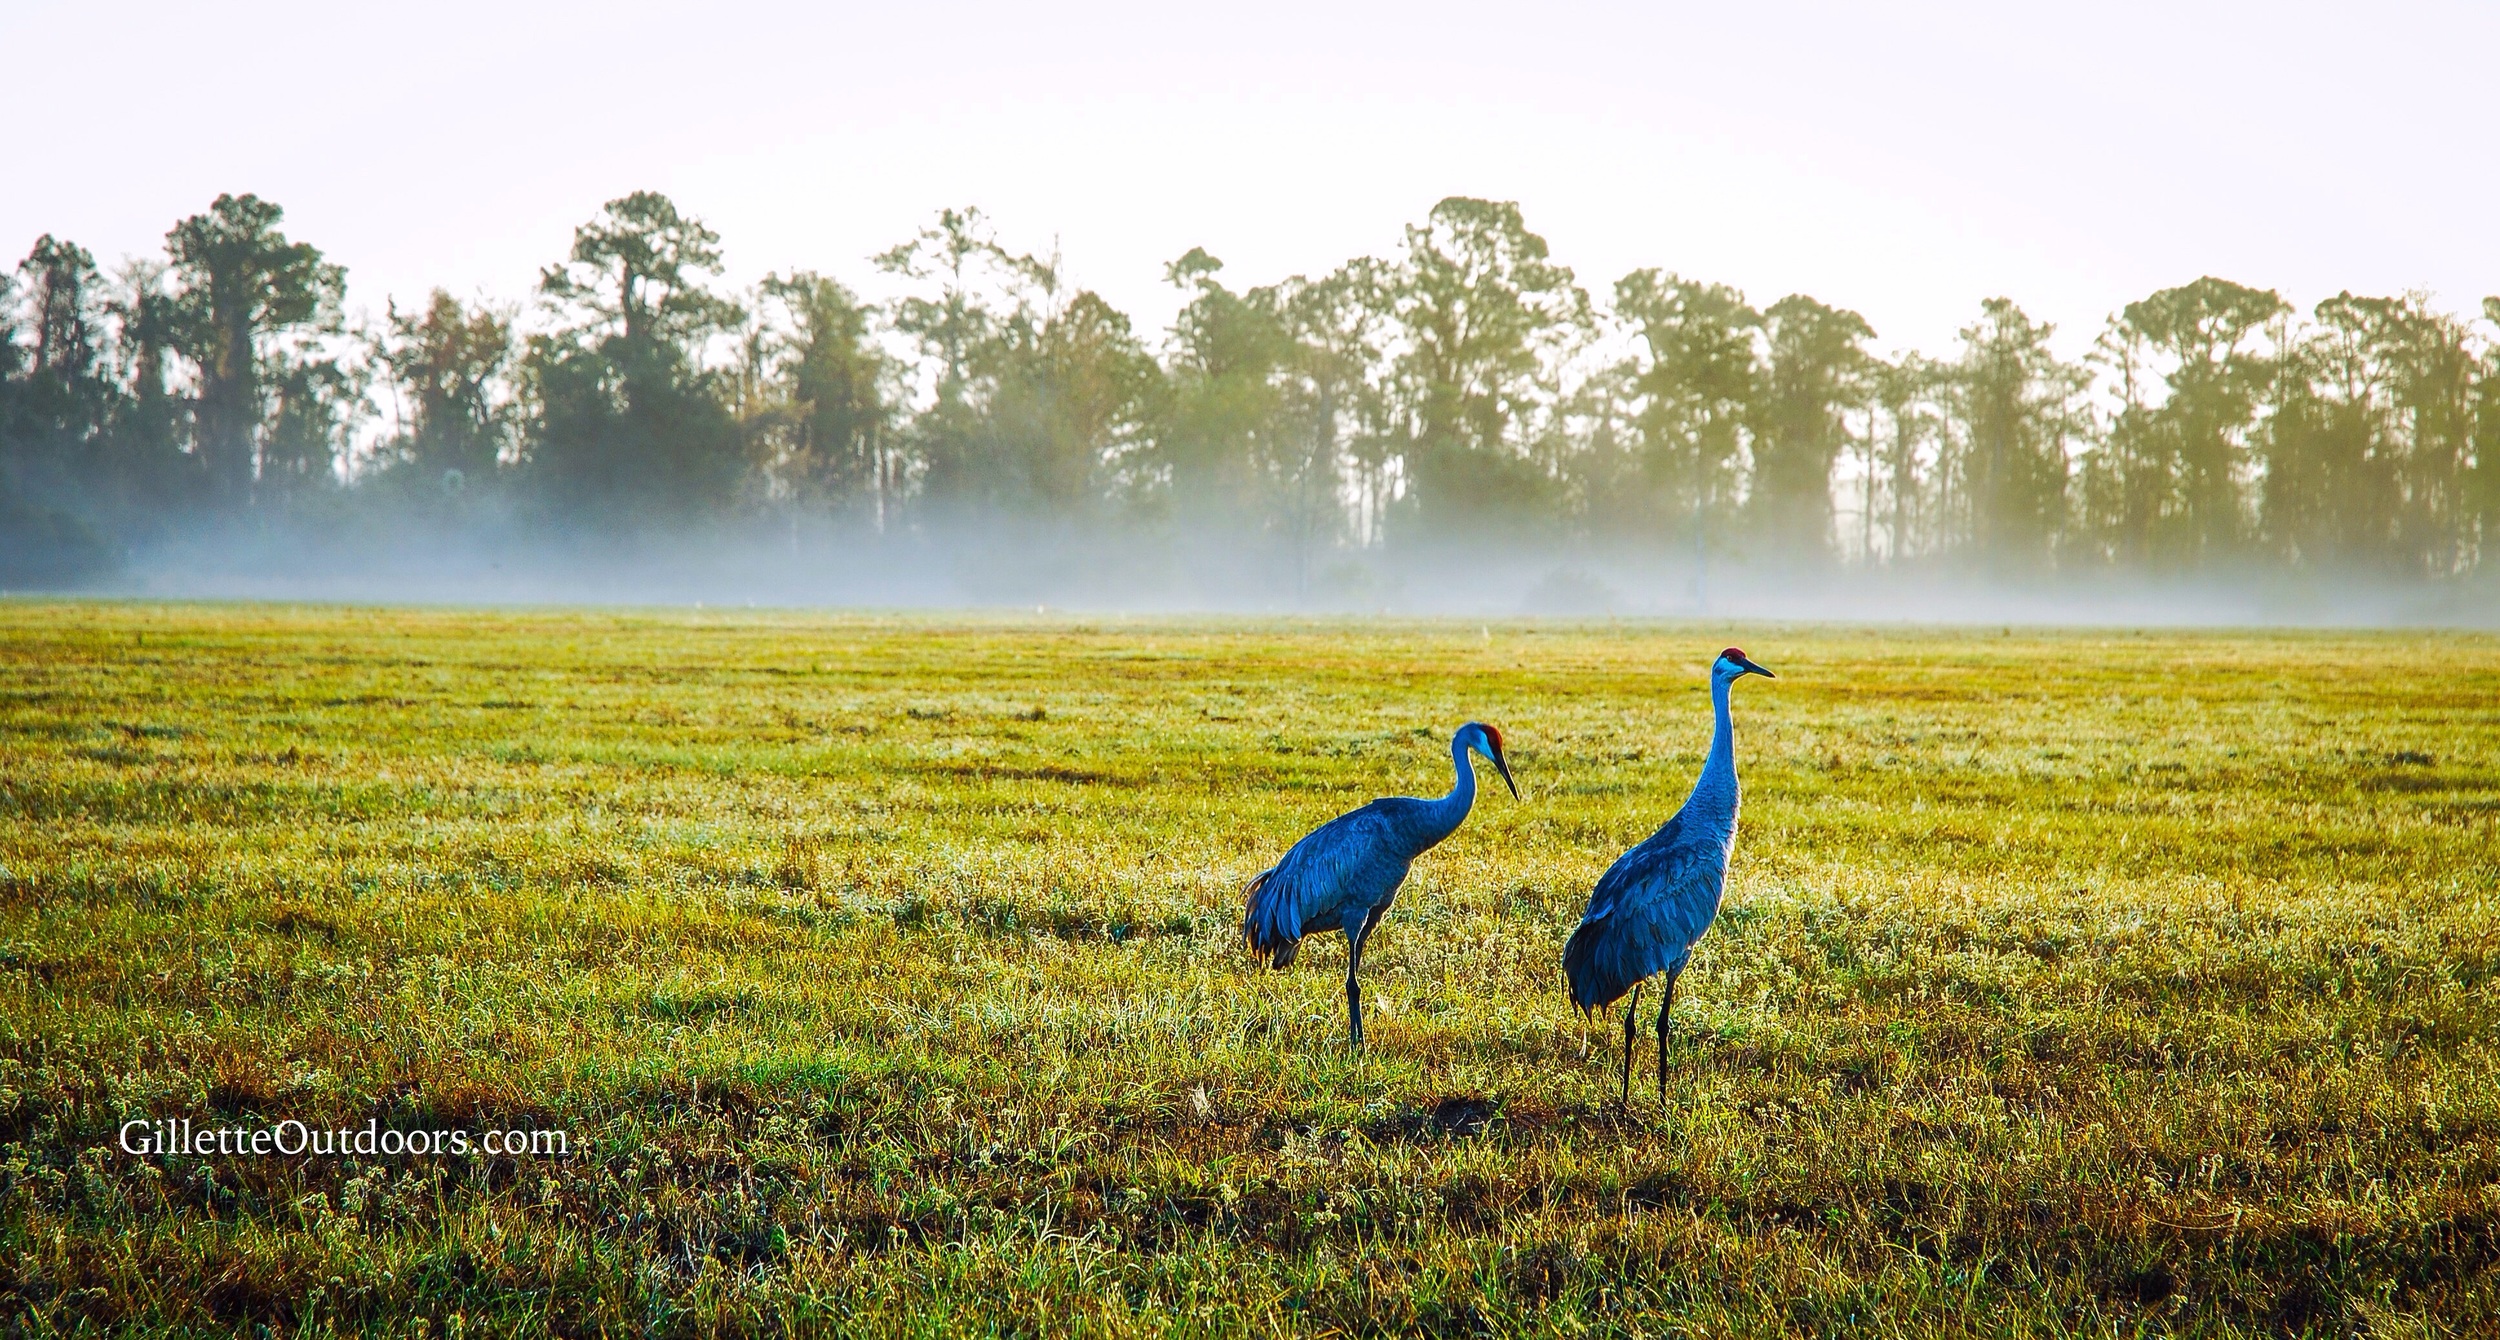
As the FT twisted and turned we went from scrub, to pines, to hardwoods, and even a low grassy flat where we found a rare Pitcher Plant in bloom.

These carnivores plants growing in clusters.

Here is the oddly beautiful bloom of the Pitcher Plant.
These strange plants are just off of an old access road that the local hikers have named Hog Trap Road. How did the road get that name? Our trail guide was the one who named it! Here is her story.
All alone the trail from beginning to end grew wildflowers. When I could, I tried to stop and snap a few photos to share.
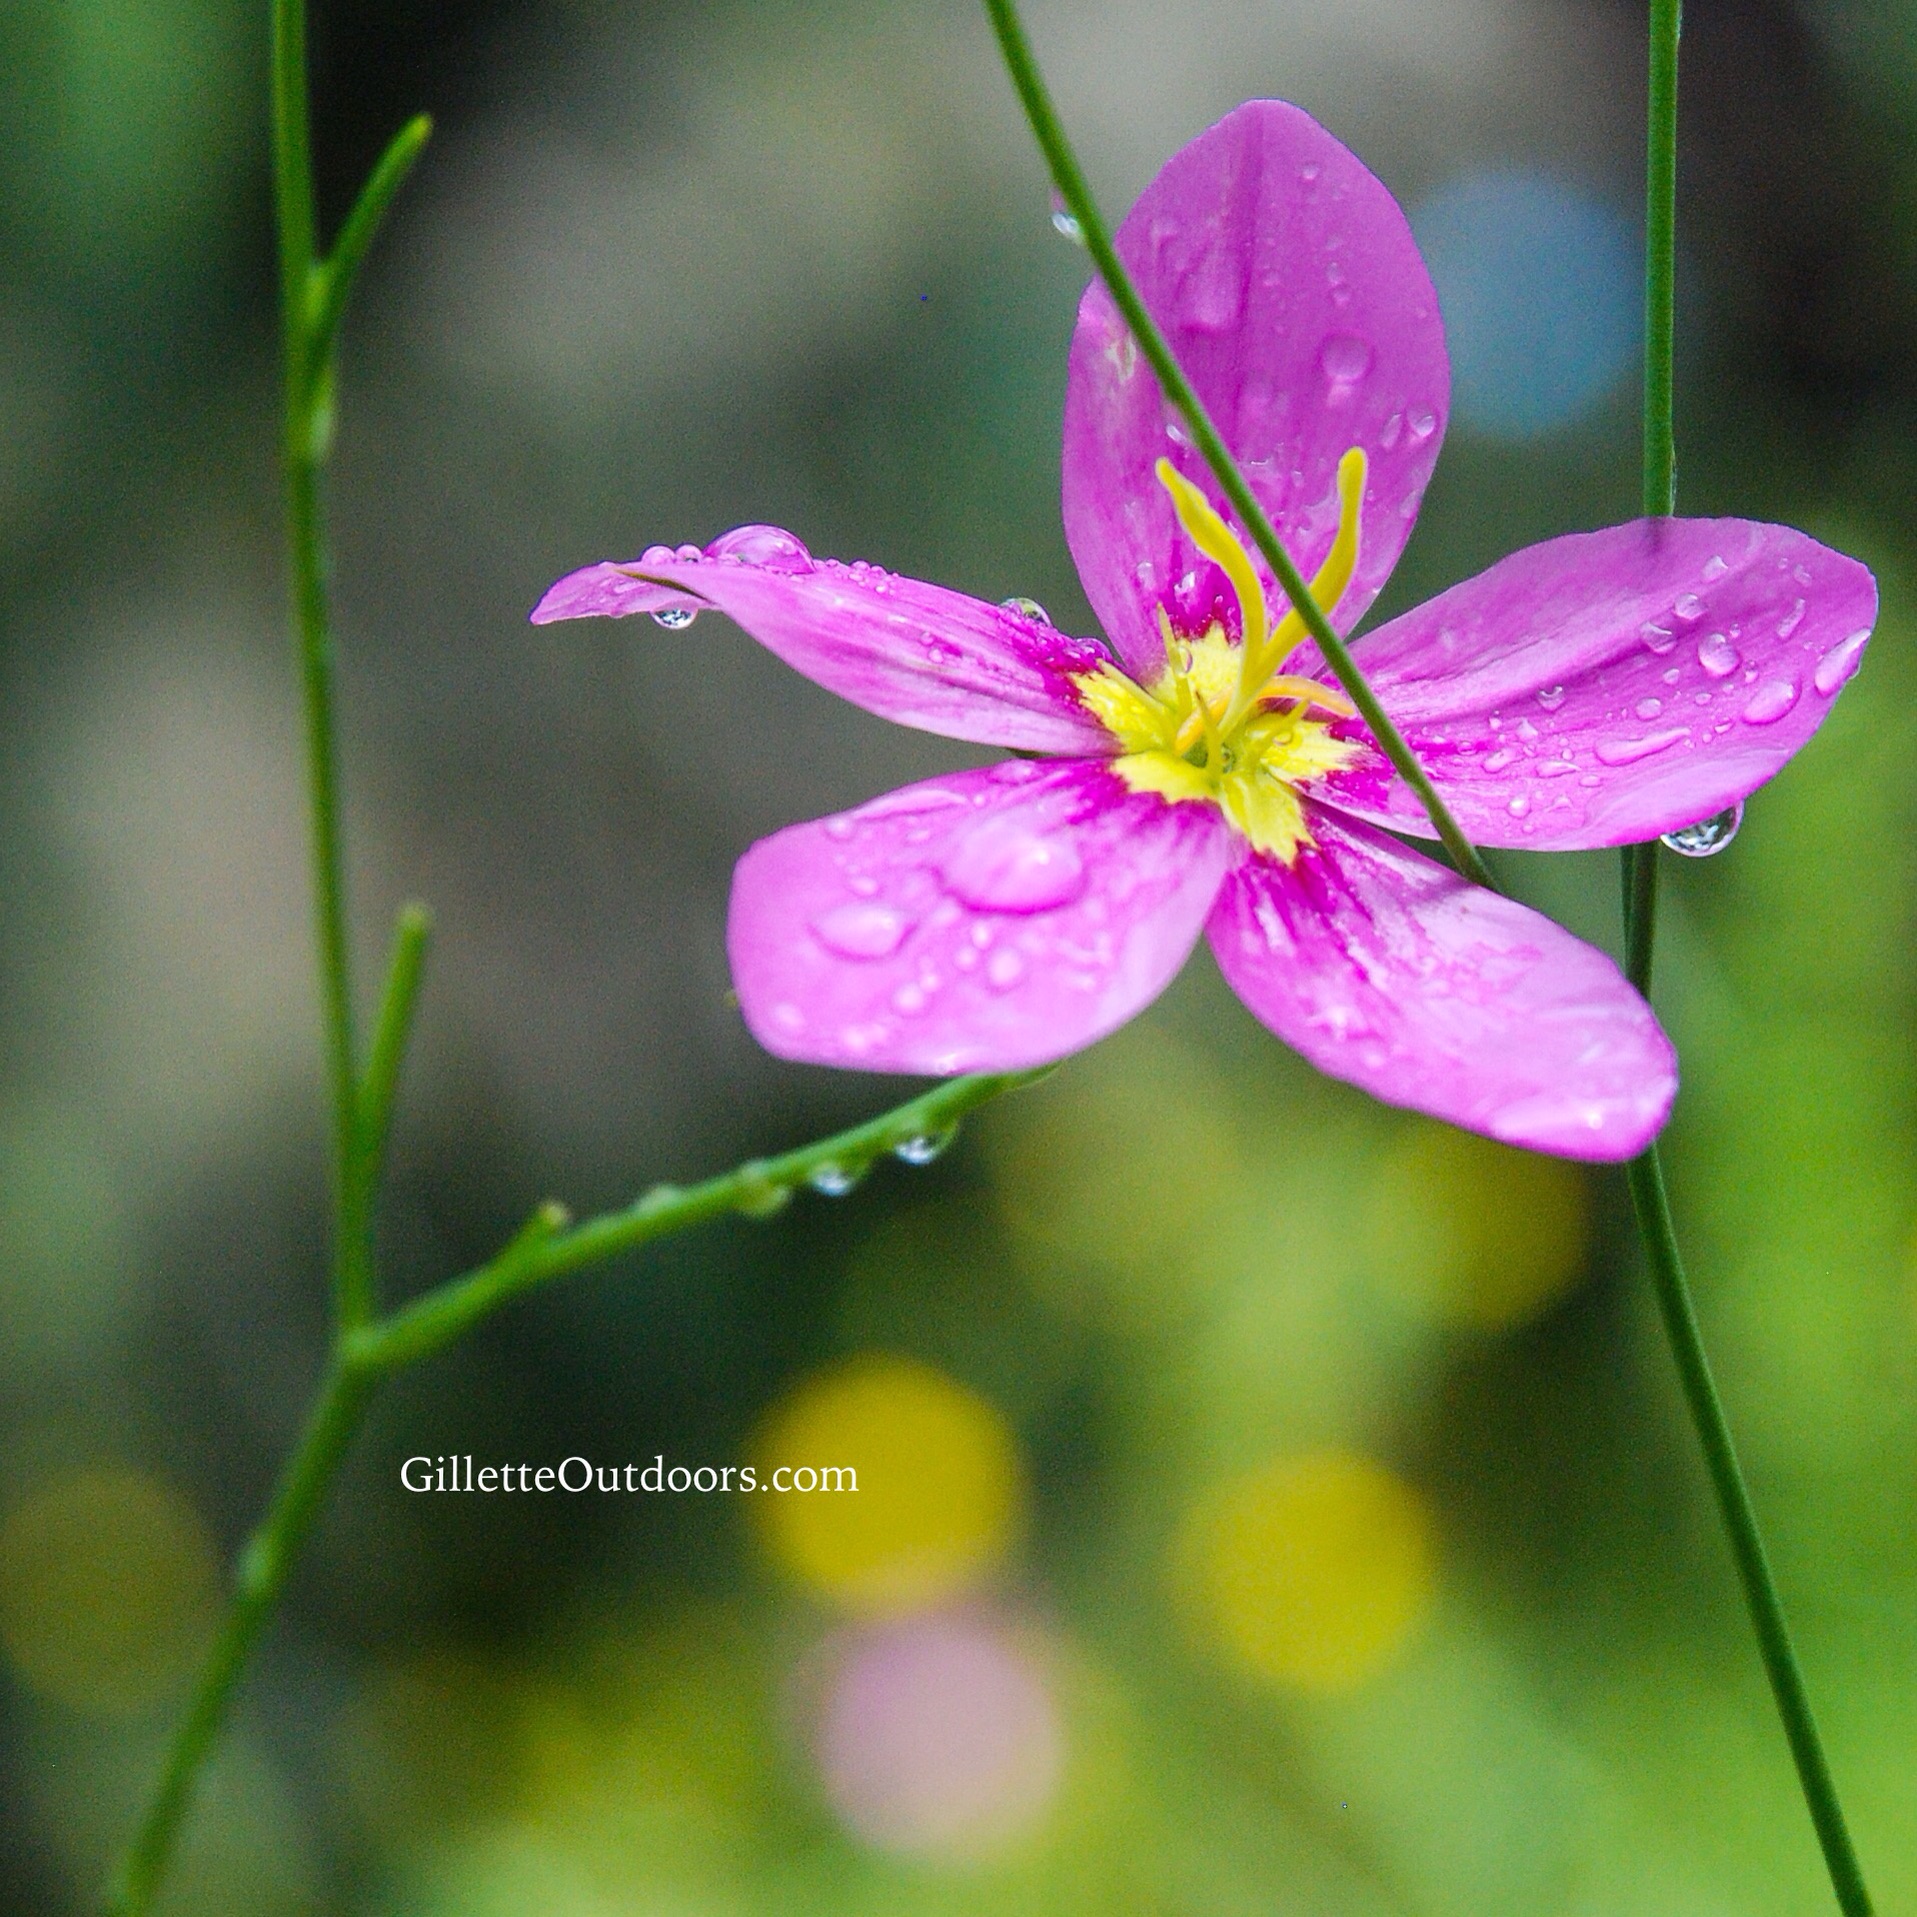
#1

#2

#3
I am not a plant expert, if anyone is please let me know the names of these in the comments below and I can go back and caption them properly.

Here is Jeff and the group checking out a Butterfly Orchid way up in this tree.
In all 5.5 miles hiked and some new friends and memories made. I would like to thank Jeff for inviting me on this awesome hike and for celebrating National Trails Day with me! I would also like to thank the Florida Trail Association (Follow the FT on Twitter and Instagram) for putting on this great hike.